His tag purification
11 Oct 2014Things that can be done at “waiting steps”:
- Prepare labeled tubes:
- Cell collection tubes
- Elution tubes
- Tubes to collect flow-through, washes (when rarely desired)
- Prepare gDoc spreadsheet:
- A280 calculations: sample names, MW (molecular weight), A280 for 1g/mL, uL resin, mL culture, culture identifying number
- Use A280 –> uM conversions found here: A280 –> uM conversion numbers.
- Decide amount of resin to use
- See below.
Grow cells
- decide between pET and pTrc. Decide host strain.
- decide source of overnight cultures
- fresh transform? reasonly recent old transform? -80oC stock?
- prepare media:
- decide TB vs LB. TB may give higher OD and/or [protein/cell]
- include antibiotics: (2uL/mL for Amp, 1uL/mL if Kan)
- Day 1: Inoculate overnights. Inoculate at least 1mL of overnight per 50mL of culture. Use 50mL falcon tube. Use at least a few mL, even if you don not need it all.
- Consider preparing media in large flask(s)
- shake at 37oC
- Inoculate flasks (Day 2).
- Use up to 1mL of overnight per 50mL of culture you are inoculating.
- More inoculum –> less time until cells should be induced. But you want the majority of your cells to be fresh so use a reasonably small inoculum volume.
- Thaw 1M IPTG stock from -20oC by moving it to the fridge.
- Induce to 0.5mM IPTG using 1M stocks at -20oC when cells reach OD ~0.6 - 1
- Use NanoDrop to measure ODs, so OD_NanoDrop = 0.06 - 0.1, NOT 0.6 - 1 like you would look for in 1mL cuvettes.
- ▢ Save NanoDrop data as tables in the project folder on the Z drive as you go. The ODs at induction are the most important
- Paste the text from these files into the google spreadsheet tracking growth. Reference these cells for the OD600 when the flasks were inoculated.
- Collect cells by centrifugation
- Chill centrifuge w/ 50mL tube rotor to 4oC. If you forget to chill in advance, don’t worry about it.
- Label 50mL falcon tubes: date, your intials, the sample info, and the mL of culture being collected into the tube. Add identifying marks to the caps too.
- Drain the 50mL falcon tubes upside down to remove excess broth.
- Flash freeze cells (optional) with liquid nitrogen.
- Use -20oC for short-term (days/weeks) storage, and -80oC for long term storage (weeks/months).
Prepare Buffers
- First consider whether there is enough leftover buffer from a previous experiment to use for the upcoming purification.
- Buffer currently in use:
- 50mM sodium phosphate buffer, pH 7.4. This is the basis for all the buffers used subsequently.
- Buffers to make from stock buffer:
- lysis buffer: 300mM NaCl added. Note: addition of NaCl changes pH.
- salty wash buffer: 300mM NaCl, 10mM imidazole.
- unsalty-wash buffer: 0mM NaCl, 10mM imidazole
- elution buffer: 200 mM imidazole.
- NaCl is weighed from red chemical cabinets. Imidazole is taken from the pH adjusted 2M refrigerator stock. Don’t use imidazole stock if it turns yellow.
- Decide amounts to make
- Make a few times more than you need. Excess buffer can be used for subsequent purifications.
- Use spreadsheet aid volume planning
- ▢ Verify that you have basic PO4 buffer, PO4 + NaCl buffer, lysis buffer, salty wash buffer, unsalty wash buffer, elution buffer.
- A few notes:
- His-tag purification buffers should never contain strong reducing agents like TCEP. The resin will oxidize and be useless. Low (~1mM?) b-ME is tolerated.
- The Baker lab uses commercial PBS (phosphate buffered sailene): Fisher BP399.
- I don’t know of other buffers having been tested.
Begin lysis
- If you are making a batch of lysis buffer, add 1 part 10X BugBuster to 9 parts NaCl PO4 buffer. (10X –> 1X)
- Add an appropriate amount of NaCl PO4 1X BugBuster to each 50mL falcon tube
- Put on rocker with maximum tilt and speed set to fill something here.
- Too fast might shear the DNA & break it. Not sure if that is really bad, but could elute and increase the A280 measurement.
- Try to prop up the cap side of the tubes so the liquid hits the whole pellet each time it sloshes to the pellet side of the tube
- Check whether pellet is dissolving every ~20 minutes. Vortex lightly if pellet is remaining stuck to the bottom of the tube.
- Time of lysis is not critical:
- too little time and the cells won’t have lysed. If the solution isn’t viscous from DNA coming out of te cells, let it rock longer.
- too much time and the proteins might degrade or be chewed up by proteases. Protease inhibitor pellet was added until ~10/2014 when some experiments suggested it wasn’t necessary. We might consider adding it if we see symptoms of degradation.
Clarify Lysates
- Lysates are spun down to get rid of insoluble material including whole cells and membranes
- Cool the centrifuge to 4oC with the eppendorf rotor in place
- Label 2mL eppendorf tubes (1.5 mL also works) you will use to load the samples. For every ~5mL of lysis buffer use ~4 eppendorf tubes.
- Load lysates into eppendorf tubes
- Spin at max RPM (14000?) for ~30 minutes.
- It is better to set the centrifuge to spin indefinitely. If the centrifuge stops for a while, the pellets may get loose and the lysate will un-clarify to some extent.
- Have columns with rinsed resin ready before stopping centrifuge.
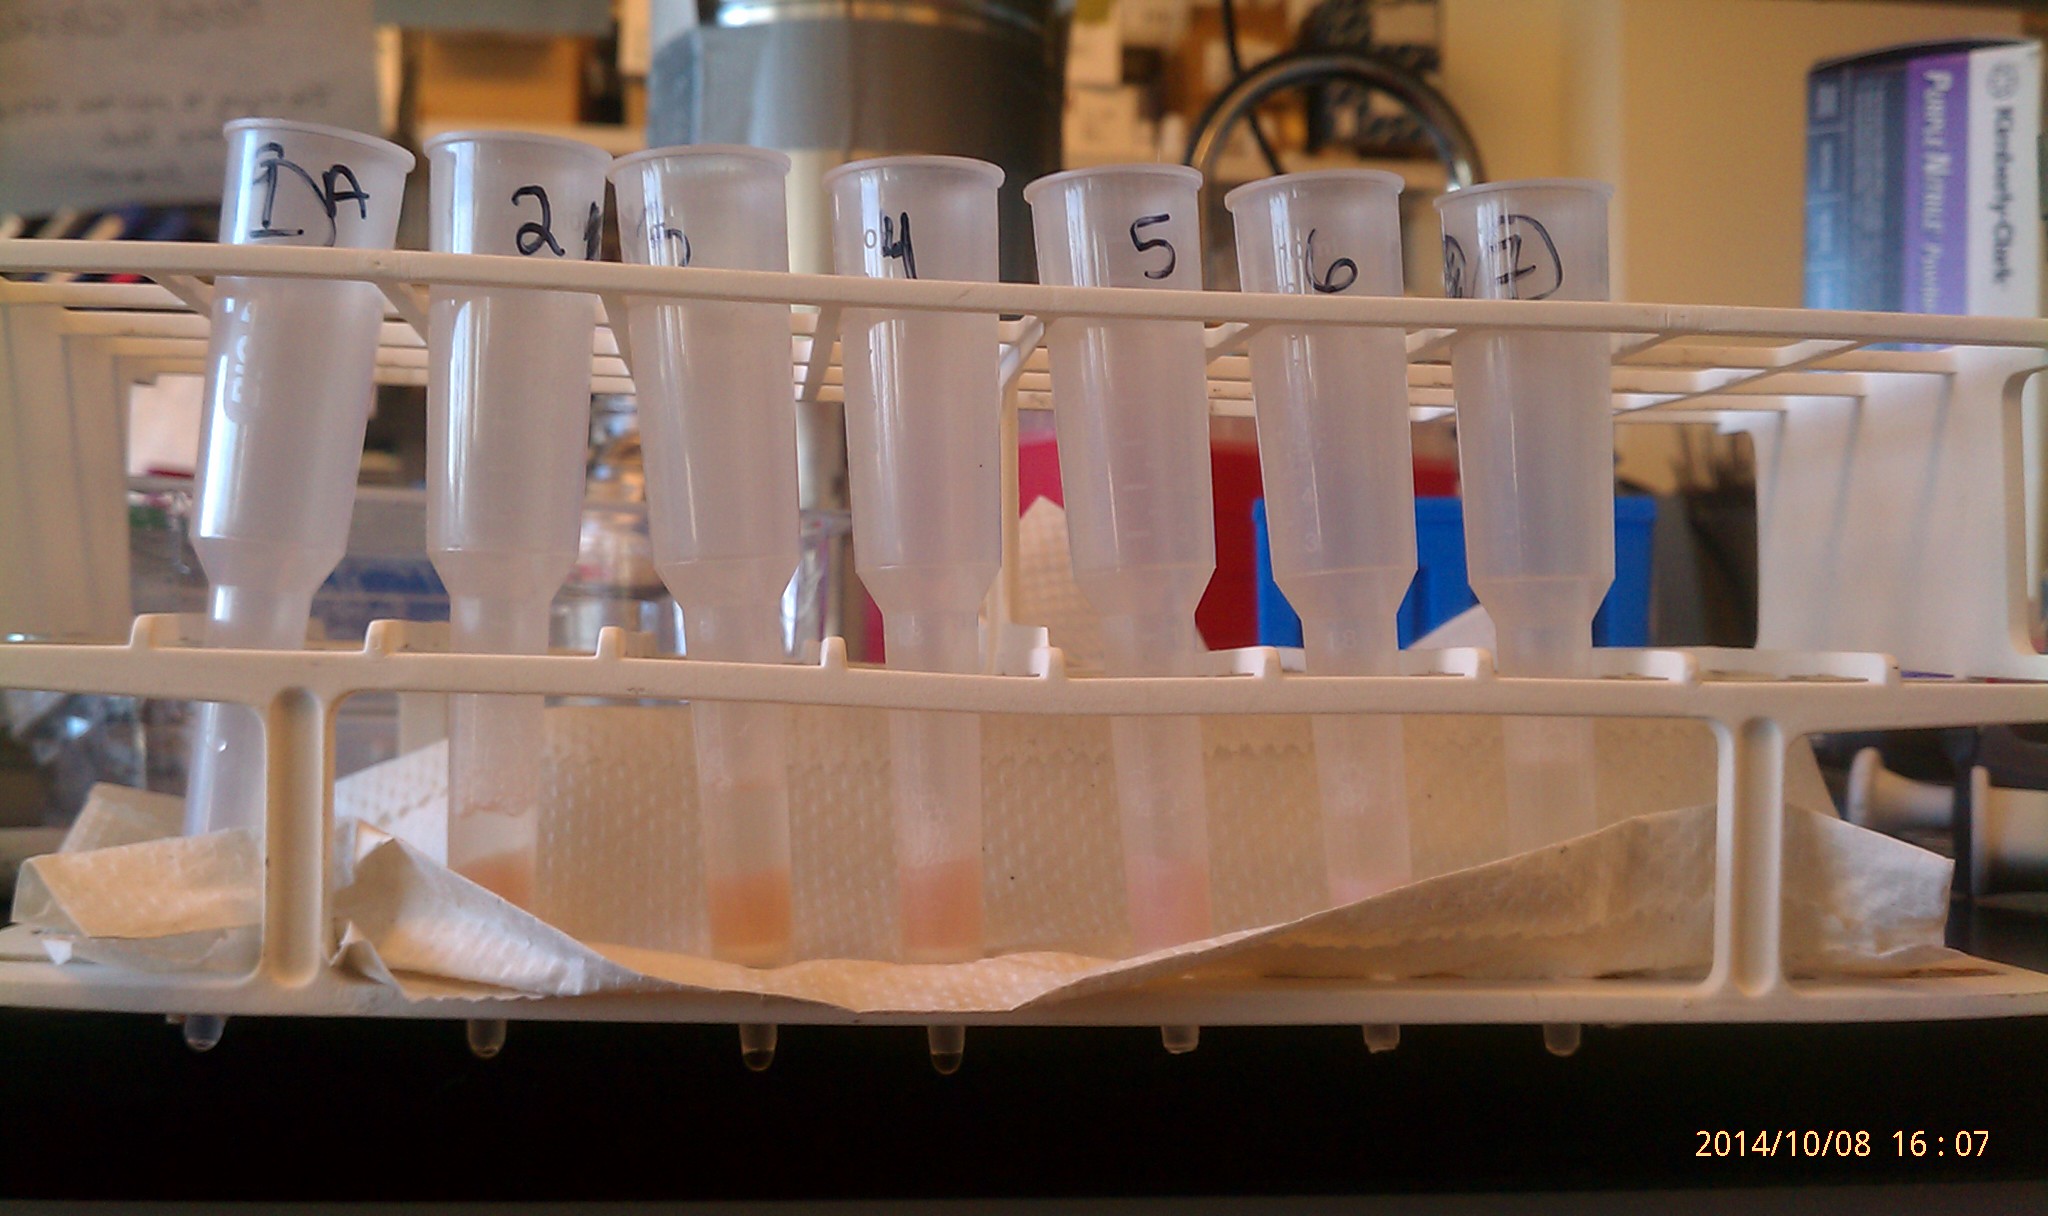
Prepare columns
- A few notes about the columns & resin:
- Resin is fairly mechanically stable, but it might be possible to destroy it with rough handling
- Don’t let the resin “dry out”. It takes many minutes to “dry out” under gravity flow conditions, but pulling air through with a pipette tip or the pig leads to “drying out”. Drying it may be bad for the resin and is likely bad for protein stability
- “resin” == small beads. They can be pipetted w/ 1mL pipette tips but cutting the opening larger is helpful. Definitely cut the pipette tip hole larger when using a p200uL tip.
- The resin comes as a slurry that is 50% buffer, 50% beads. The beads settle out quickly, so vortex the slurry each time between pipetting. We don’t want the composition of the solution to drift too far from 50%.
- Use a 1mL pipette with the tip cut off so the clunky beads don’t get stuck.
- Decide amount of resin to use
- Adam Wargacki uses 1mL of resin per L of culture, as a general rule of thumb. (for Co-NTA or Ni-NTA)
- 2015/2/25 purifications showed that 400mL of autoinduced pET ADH 3K9D failed to saturate 400uL of resin (800uL of slurry). The NanoDrop OD600 was 0.4 at harvest. experiment notes & spreadsheet (note: they are embedded in another experiment!)
- ** Add notes about ACS L641P and WT purification based on this experiment! **
- Chose a column size
- the lysate volume is the most important parameter. If in doubt, chose the [largest ones] (http://www.bio-rad.com/en-us/product/poly-prep-chromatography-columns?pcp_loc=catprod). The volume of lysate is the most relevant parameter to column size, because the resin volume is small relative to the lysate.
- chose a method of holding up the column
- one option:
- You can also use “the pig” if vacuum filtration will be used. Rinse the places your columns will touch “the pig” before and after pig use.
- one option:
- chose a method of pulling liquid through the column when it is slow.
- flow through the column is slow when there is a bubble or when the solution is viscous.
- you can use a 1mL pipette tip to pull solution through the bottom, use a centrifuge in a 15mL falcon tube, or use “the pig.”
- don’t put the tall columns inside of 15mL tubes in the centrifuge. JM shattered a column w/ resin this way 10/2014.
- pipette in resin
- let buffer drain
- buffer contains 20% ethanol and should be flushed
- ▢rinse resin by applying 1mL of NaCl PO4 buffer
- firmly place yellow caps at the bottom opening before loading samples
- load lysed samples (described below)
Bind protein onto washed resin
- Load the clear portion of the centrifuged lysates. Avoid distrubing the cell pellet, and any goopy stuff at the bottom near the pellet.
- Place the clear cap on firmly. Very firmly. Leaks = bad.
- Rock at room temp or 4oC
- RECORD YOUR CHOICE:
- Temperature doesn’t seem to be critical for these proteins
- Time required hasn’t been tested, but use ~20-30 min or more for good measure. Again, too long increases the probability of protein degradation. Shorter times can be evaluated to enable quicker purifications.
Wash proteins
- Background:
- To remove proteins hanging out next to the resin and proteins unspecifically bound to the Cobalt or Nickel atoms, rinse a few times. 10mM imidazole is used to remove residues that are loosely bound (e.g. proteins with 2 adjacent His residues instead of 6 like in a His*6 tag.)
- Rinse twice with salty wash buffer, as salt may help reduce unspecific interctions
- Rinse twice with unsalty wash buffer, to equilibrate the liquid toward the 0mM NaCl elution conditions.
- In JM’s previous experiments, the wash buffer does strip of some of the desired protein, so washing too aggressively can also be bad.
- Until 10/2014 all purifications had been done with gravity flow. It is possible that the accelerated speed at which “the pig” pulls solution through is too fast for equilibration. It may be desirable to swirl wash solution around the resin in “the pig” case. Just record the strategy used.
- Wash twice with salty wash buffer, then twice with un-salty wash buffer.
- 2015/2 update: 10mM imidazole strips off ADH 3K9D significantly. Only do one wash at this concentration. Test 5mM imidazole next.
- Make tally marks to record each, especially if you are washing columns at different times making it difficult to recall how many each has been washed.
- Use ~1mL each wash.
Elute bound & washed protein
- Move columns to fresh 1.5 or 2mL eppendorf tubes. TUBES NEED TO BE LABELED in advance. Identity of sample, elution #
- Add 1mL of ice cold elution buffer to the top of the resin.
- Allow the elution buffer to drip into the labled eppendorf tube. Don’t centrifuge & never vacuum.
- Repeat for 2nd and 3rd elutions.
- Check NanoDrop A280 of eluted samples as subsequent elutions occur
Determine the concentration using NanoDrop A280
- Use A280 –> uM conversions found here: A280 –> uM conversion numbers.
- Background:
- imidazole also absorba somewhat at 280nm, so it is important to subtract this background signal off.
- Blank with H2O, as always
- Measure A280 for imidazole ~10 times. These will be averaged as the blank value.
- Measure the A280 of recently vortexed eluted protein. Do at least 5 meausrements/sample. Minimum volume is ~2.5uL. Dab pedistol between measurements.
- SAVE FILE. Definitely at the end, but ideally every ~10-20 measurements
- Take note of any samples that were measured with the wrong sample label, so they can be corrected.
Regenerate resin
- Whatever I did the first time worked. Look it up and repeat.
Do a happy dance
You are finished!
<img src=”/protocols/images/happy_dance_penguin.jpeg”, height=”120”>
* Leave protein in a styrafoam box filled with fresh ice in the cold room if not using proteins that day.
-
Image test:

< I love milk >
————-
\ ^^
\ (oo)___
()\ )\/\
||—-w |
|| ||